
Image source: http://bigleaguecinesummit.com
According to Big League, the organisers of Cine Summit lll (http://bigleaguecinesummit.com), more than 40,000 users logged in on 21-22 January 2015 to watch this online event dedicated to the best in cinematography. And I was one of them.
As mostly self-taught filmmaker, I have to grab opportunities to learn from online sources. But never have I previously written about my experience of such online events. This event really stood out for me, as it gave me a good recap of some basic knowledge required for filmmaking.
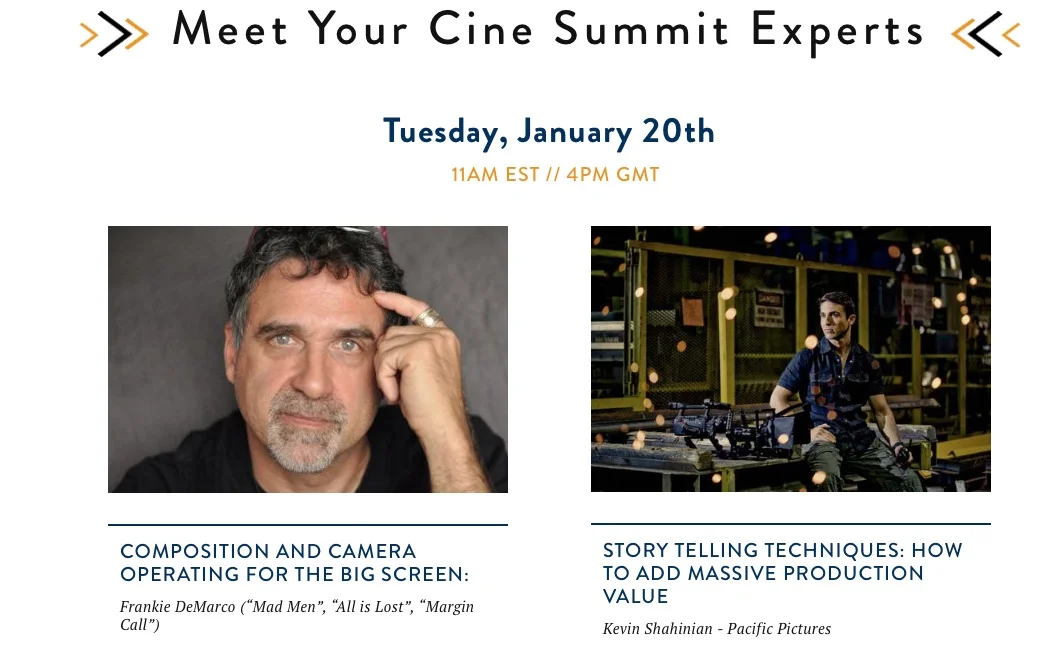
There have been 9 presentations in total covering composition, camera operating and movement, storytelling techniques, lighting for low-cost productions, commercial lighting for fashion, sports and cars and a technical introduction to lenses. These were presented by some big DP names in film and commercials - Frankie DeMarco, Kevin Shahinian, Rasmus Heise, Matthew Santo, Stefan Borbely, Shane Hurlbut, David Vollrath, David Vollrath and Matt Workman.
Here are the things which I found most useful:
1. Camera Operating, Composition and Storytelling Techniques
- Thinking as an editor helps to be a good DP and Director - think about what you need to tell the story and what is required to connect the scenes/shots
- Still photography is a great source of inspiration for the style and look of a film
- When framing and composing, try to think how it should look like if you were watching a good movie (e.g. if you are doing a horror scene, would you be scared given current set-up, do you need to add more contrasting shadows?)
- Here are a few examples of how to use frames and composition to express the mood / emotions / ambiance:
- When filming 2 people conversion, use over-the-shoulder shot to show connection between people, and you can use shots that show each character in a separate shot talking to each other if their relationship is broken or there is no much connection
- Shifting a character to the left of the frame, making him look into a "negative space" (e.g. on the left side away from another character), and revealing the space behind his back which is visible to the viewer, can add horror feel to the scene
- Use selective focus(blurring/out of focus) to show memories/dreams vs sharper images of reality
- Visualisation of camera movements can help to create the most suitable look for the scene. It was interesting to see the demo by Matt Workman. In his example, a character crosses the road and enters a building - and you can achieve equally interesting but completely different looks by using tripod, dolly/slide and crane.
- With all the methods of camera movement (handheld, tripods, dolly, tracks, rigs, steady cam etc), you actually can work from the emotion of the scene to choose what works best. Some of the advice given is that:
- Dollying into the character is good to show emotion (e.g. showing somebody falling in love). You show the movement through space and perspective, and can even pass something on the way to get closer.
- Zooming in is good to demonstrate the thinking, idea generation process. Zooming works well when you are looking into the mind and eyes of the person.
- Leaving the camera still/lazy on tripod can work well when actors are active in the frame.
- Be experimental with your framing - sometimes unconventional composition can add character to the film (e.g. introducing the character for the first time in an unconventional (e.g. upside down) frame that focuses on the environment rather than the character himself might better drag the viewer into the story)
- Think what works better for the scene - subjective interpretation (when you show character, and then his point of view) or objective interpretation (nobody’s point of view)
- When reviewing shots, it is worth reviewing all aspects of physical operating - focus, framing, focal length, distance to subject, f-stops, lenses, etc. Sometimes it is worth experimenting to find the right look for the scene, so don’t be afraid to change the set up (provided you have time for it).
2. Kevin Shahinian - my Inspiration
Now I want to talk about the presentation that inspired me.
How many times have you heard that if you want to make a serious career in film industry, you should avoid doing commercial work, and, as a cinematographer, if you are doing weddings, then you are at the bottom of your profession? Well, Kevin Shahinian proved it wrong.
Singlehandedly, he revolutionised the wedding cinematography. His clients pay anything from $10k to $100k for a short film made with a DSLR. I watched everything he’s got on his website http://www.pacificpicturesblog.com/blog/ and I find it really impressive that these films have been produced without super-expensive Hollywood equipment, and, more importantly, without huge teams. In fact, some of them have been done by Kevin completely on his own. So how does he achieve such amazing results?
The main thing which makes these films special is that all these films are narrated/scripted productions. The inspiration for the script comes from the personal stories/experience of the clients, and usually no professional actors are involved. Kevin takes into account the talent and abilities of the clients and shapes the characters to suit the ability, and takes rather structured approach to script development:
- Structure. Reliance on basic 3-act structure: 1) the first act establishing the status quo and showing emotional low to engage the audience, 2) the second act showing a “life-changing” journey, with maybe another emotional low at the end, and 3) the third act showing resolution.
- Science of emotional engagement. Use of tools that grab audience attention such as ‘cliffhanger opening’ (where a character is presented with a difficult dilemma from the start) and ‘in medis res’ (where the story starts with mid-point dramatic action rather than set up of characters and situation). Interestingly, Kevin also refers to the work done by neuroeconomist Paul Zak (http://youtu.be/rFAdlU2ETjU) that relates to measuring hormones cortisol and oxytocin that are proved to be responsible for feeling empathy, trust and engagement with a character. Can it be more scientific than that?
- Mythology and use of semiotics. Taking inspiration from the history and myths, and specifically from the mythology analysis done by Joseph Campbell. Leveraging semiotics to build into the story signs and symbols that are meaningful to the characters.
In terms of technology, it has been incredibly useful to see the list of used equipment which shows that you do not necessarily need ARRI Alexa or the most expensive Black Magic to produce Hollywood-style look. Most have been shot on Canon 5D Mark III with 3 Canon lenses (24-70/2.8, 70-200/2.8, 24/1.4). A few other gadgets, including tripods, Glidecam 4000HD. Of course, some shots required a bit more than that – so you also see Jimmy Job, Phantom 2 with GoPro. Not sure what sound equipment Kevin used given that some films he does completely on his own – so there wasn’t anyone running around with a boom – there must be some radio mics.
Overall, my conclusion is while the equipment you use matters, but what you do with it is much more important. I am amazed by both what can be achieved by a single person and the amount of knowledge and skills that goes into this. Simply inspirational.
3. Caleb Pike - Lenses (best technical presentation)
Talking about technical side, the presentations on lighting and lenses have been really useful, and I am particularly grateful to Caleb Pike for his presentation “Everything you need to know about lenses”, which really gave me confidence in understanding how to choose lenses whether it is buying a new lens, or just choosing the most appropriate lens when filming.
Theory and definitions recap:
Focal length measures the distance from the optical centre of a lens to the imaging sensor when the lens is focused at infinity. It has an impact on the image you get as it affects the perspective, background and features of the subject through the following:
- Field of view (FOV) – how much you can see in the frame
- The wider lens (smaller focal length number) – the larger the FOV
- Depth of field (DOF) – how much is in focus in your shot
- The longer the focal length (bigger focal length number), the shallower your DOF; the shorter the focal length, the deeper your DOF. Of course, focal length is not the only thing which determines depth of field – you need to look at the combination of focus distance, aperture and focal length (that is why you can see on the web a lot of DOF calculators!)
- Lens Compression – how distance and subject size is rendered in your shot, the level of distortion (e.g. things appear closer or bigger than they are) – which is useful when you want to make compositional choices which would not be possible without degree of distortion
- Lenses longer than 50mm will compress the image, lenses shorter than 50mm will decompress the image
Compression
- distorts the relative distance of the scene and affects the way a subject’s size is rendered
- can be used to isolate subject or hide unnecessary details such as microphones and lights
- can be used exaggerate subject or action
- opens up space (when filming in small spaces)
- can flatter the face of the character
Decompression
- Can give monstrous look to the subject (good for sci-fi or horror)
This is an image produced by Stephen Eastwood which is widely used on the web to illustrate the point:

Lens Aperture (f-number) – a set of blades in lens that opens & closes to control how much light hits the sensor. All lenses have max aperture range (larger aperture = smaller f number).
- A larger opening (=smaller aperture number) gives you more light and shallower DOF, and a smaller opening (larger aperture number) gives you less light and deeper DOF
- Advice on aperture use:
- When thinking of desired DOF, use aperture together with focal length as both affect DOF
- Don’t change aperture once the camera set for a shot (it is ok to change aperture if moving from wide to medium shot)
- Set aperture first and then change ISO to get the desired exposure
- Zoom lenses have either a “constant” aperture or “variable” aperture that changes as you zoom. To have better control over aperture, the constant aperture zoom lenses are more preferable.
Sensor sizes – there are 4 main sensor sizes: Full Frame 35mm, APS-C, Micro4/3, Super 16mm – knowing your sensor size is important when choosing a lens because each lens is designed for a specific sensor size. If you are using lenses that were not made for your sensor, you get side effects:
- Cropping – when you put larger lens on smaller sensor (cropping ratio will indicate how much you are cropping from the full frame)
- Vignetting – when you put smaller lens on larger sensor
Caleb compares the above with mattresses and sheets – if you put larger sheet on smaller mattress (cropping) – it is OKish and, but if you try to put small sheet on big mattress (Vignetting) – not so good. However, there are adapters for some lenses that can correct these side effects.
Adapter types:
- Passive – simple mechanical adapter that allows to use lenses designed for a different mount
- Smart – as above but in addition keeps the functionality such as autofocus and image stabilizer
- Booster - can correct cropping (Caleb mentioned that he personally uses Canon 4K with the booster that fixes cropping and allows to use Nikon lenses)
- Magnifying - can correct vignetting
- Throttle - with build-in ND filters (Fotodiox) – here is a good article explaining this type of lens further (http://petapixel.com/2014/11/03/fotodiox-launches-a-sony-e-mount-to-canon-ef-mount-adapter-with-a-10-stop-variable-nd-filter-built-in/)
Metabones.com appears to be the leading company producing all types of adapters except for the Throttle one.
The above knowledge gives a whole new meaning to the way you think about cameras and lenses, and encourages you to experiment with different lenses.
Perhaps the most interesting part of Caleb’s presentation was his analysis of the lens/mount compatibility and his explanation of why he prefers certain cameras. He compared camera mounts Canon EOS, Nikon F, Sony E and Micro 4/3 to lens mounts Canon EF/EF-S, Nikon F, Sony E, Canon FD, Micro 4/3, Olympus OM, M42 and C-Mount. Amazingly, Nikon F, who are famous for the high quality of their lenses, have the worst compatibility which means that you cannot lenses other than Nikon F and Olympus OM – so you cannot experiment with a variety of lenses from other brands. On the opposite, the Micro Four Thirds have the best lens compatibily with only Sony E lens mount not compatible. And that was the main reason why Caleb loves using Micro 4/3 as it allows him to experiment with lenses including those designed for larger sensor – the use of booster adapter fixes the issue of cropping and gives perfect results.
Another article which I found useful on the above topics is HERE
4. Lighting
The CineSummit provided us with several presentations on lighting – from low-cost options to lighting beauty, sports and car commercials. And the complexity of knowledge you need and variety of approaches overwhelms me. I am not even getting into discussion about the cost of proper lighting in commercials – it is way beyond my budget. However, here are a few learning points that I picked up for myself:
- Start from lighting the space rather than lighting a subject/object. Think of everything which produces light on the set, how it can bounce or change, and how it all falls into place.
- Try to set up lighting which works in all directions for the scene.
- If there are art designers involved, leverage what they can do.
- Find stuff which is already beautiful and get inspiration from the nature and real life.
- Always be prepared for change (think of spare/extra lights) – lighting changes continuously.
- Experiment with materials (gels, filters, fabrics, paper, muslins…) that reflect, diffuse, bounce, block, filter light or change/modify light in any other way.
- Use Hazer to add texture to your light (you can see the light rays with it), play it against darker objects, but be careful to ensure consistent atmosphere for the scene
- You can achieve interesting results by using cheaper lights (fluorescent lights, light-tubes (particularly Philips give good colours), LEDs – can be bought in hardware stores. You can be experimental and spray-paint cheap lights to give various looks.
- Using two or more colours in one scene can give interesting looks (and also might give benefits in post-production as different colours will be easier to separate)
- Beauty commercials – to create heightened reality you need lots of light and filming at high speed (150 fps) is not unusual. Briese light is one of the best key light for beauty stuff.

These are my take-aways from CineSummit III and I am looking forward to the next event. Huge thanks to the organisers.
P.S. I believe you can still get access to full set of presentations on their website for a small fee. Highly recommended!